Few objects in a home work as hard for as little effort as a candle. You light it, it does its job, and it asks for almost nothing in return — beyond a little attention at a few key moments. Miss those moments and the symptoms are familiar: a narrow tunnel bored down the middle, a blackened glass, a wick drowning in its own wax, and a candle that gives up half its life before the jar is half empty.
What follows is a routine you can genuinely keep: two minutes a day, five minutes a week. No special kit required, though a pair of wick trimmers and a snuffer earn their place on the shelf beside the matches.
The First Burn Sets the Pattern
A candle's first burn decides how it will behave for the rest of its life. Wax holds a memory. If the first burn melts a pool all the way to the edge of the jar, later burns tend to follow that path outwards. If it melts only a small circle in the centre, that is the channel it will keep carving — and no amount of trimming later will persuade it to widen.
So give the first burn enough time. You want a full melt pool reaching the rim, which usually means two to three hours for a standard jar candle and longer for a wide three-wick. A rough guide is an hour for every 2.5cm of diameter. Don't light it at nine in the evening and blow it out at ten; save that first burn for a day when you're pottering about at home anyway.
Trim the wick to about 5mm before the very first light, too. New wicks are often left long, and a long wick produces an oversized flame that eats the centre of the candle and can scorch the glass.
The Daily Two-Minute Check
Run through this before every burn. It takes less time than hunting for the lighter.
- Trim the wick to 5mm, while the candle is cold. Wick trimmers are ideal because the curved base catches the offcut, but scissors or nail clippers work perfectly well.
- Bin the trimmings. Never leave them in the wax, where they can catch and smoke.
- Check the surface for dust, pet hair and fingerprints. A dry microfibre cloth lifts all three without marking soft wax.
- Straighten the wick. A wick leaning to one side burns unevenly and heats the glass. Nudge it upright with the tip of a pencil or a chopstick rather than your fingers.
- Set it on something heatproof — a coaster, a saucer, a trivet — and away from curtains, shelves and anything that might catch a draught.
If the wick has formed a mushroom-shaped blob of carbon at the top, that is your cue to trim. It is not a sign of a bad candle, just of a burn that went on a while.
Weekly: Dust, Glass and Holders
Once a week, give your candles a proper glance. Dust is the quiet enemy. It settles into the surface of the wax, and when the candle burns it can spit and smoke, and it mutes the scent throw. Wipe each candle with a dry cloth, then check the jar rim and the holder for soot and wax trails.
Glass and ceramic holders can be washed in warm water with a little washing-up liquid once they are completely cold. If wax is welded to a plate or a candlestick, pop the empty holder in the freezer for twenty minutes: the wax turns brittle and lifts away in chips. Do that for holders, not for candles you intend to burn. Freezing a whole candle can crack the wax and leave you with a tunnelled mess.
One warning worth repeating: never rinse molten or soft wax down the sink. Paraffin, soy and beeswax all set hard in the pipes. Wipe the residue out with kitchen paper and put it in the bin.
Storing Candles So They Keep Their Scent
Scented candles lose their edge in the wrong cupboard. A few habits keep them fresh for months longer:
- Store in a cool, dark, dry place, away from radiators and windowsills. Sunlight fades colour and softens wax.
- Keep lids on, or slip unboxed candles into a cotton bag or a shoebox to keep dust off.
- Stand them upright. Stacking heavy candles on softer ones leaves dents and bent wicks.
- Keep them away from strong odours — cleaning cupboards, garages, bin stores. Fragranced wax can pick up other smells.
- Don't refrigerate them. Cold wax sweats as it warms back up, and the moisture does the burn no favours.
- Aim to burn opened candles within a year or so. Note the date on the base if you have a habit of forgetting.
Burning Habits That Add Hours
How you burn matters as much as how you store. Four hours at a stretch is plenty; beyond that the wick carbonises, the jar gets uncomfortably hot and the scent fades anyway. Let the candle cool, trim the wick and relight if you want to carry on.
Keep candles out of draughts. A draught pushes the flame to one side, causes uneven melting and sends soot up the glass. Snuff rather than blow: a snuffer or a wick dipper stops the smoky plume and the risk of a stray ember, and dipping the wick into the melted wax coats it for an easier relight next time. Never move a lit candle, or one with liquid wax pooled near the rim, and never leave a burning candle unattended or fall asleep with one lit. Keep them well out of reach of children and pets, and follow the manufacturer's instructions on the base.
When Things Go Wrong
Tunnelling. Rescue a channel-forming candle with the foil method. Wrap the top of the jar loosely in foil, poke a hole directly above the wick, and burn for an hour or two. The trapped heat melts the outer ring of wax. Stay in the room the whole time and keep an eye on it.
Soot on the glass. Usually a wick left too long or a draughty spot. Once the jar is cold, wipe inside with a damp cloth and a drop of washing-up liquid.
A drowning wick. Pour off a little of the melted wax — into the bin, not the sink — or blot it with twisted kitchen paper once it is cool enough to handle safely.
A cracked jar. Retire it. Cracks spread with heat, and a candle burning in a fractured container is not worth the risk.
Your Weekly Rhythm
Pick a day and a five-minute slot: Sunday morning works for most people. Trim every wick, dust every surface, check the stock for anything that has been sitting forgotten, and put the trimmers, snuffer and cloth back in one small tin beside the candles. Friction is what kills routines, so make it easy to start.
Beyond that, the daily habit is almost automatic: trim, straighten, light, snuff, and let the wax reset overnight. Candles are patient things. Give them a short wick and a clean surface and they will return the favour with a longer, cleaner, better-smelling burn.
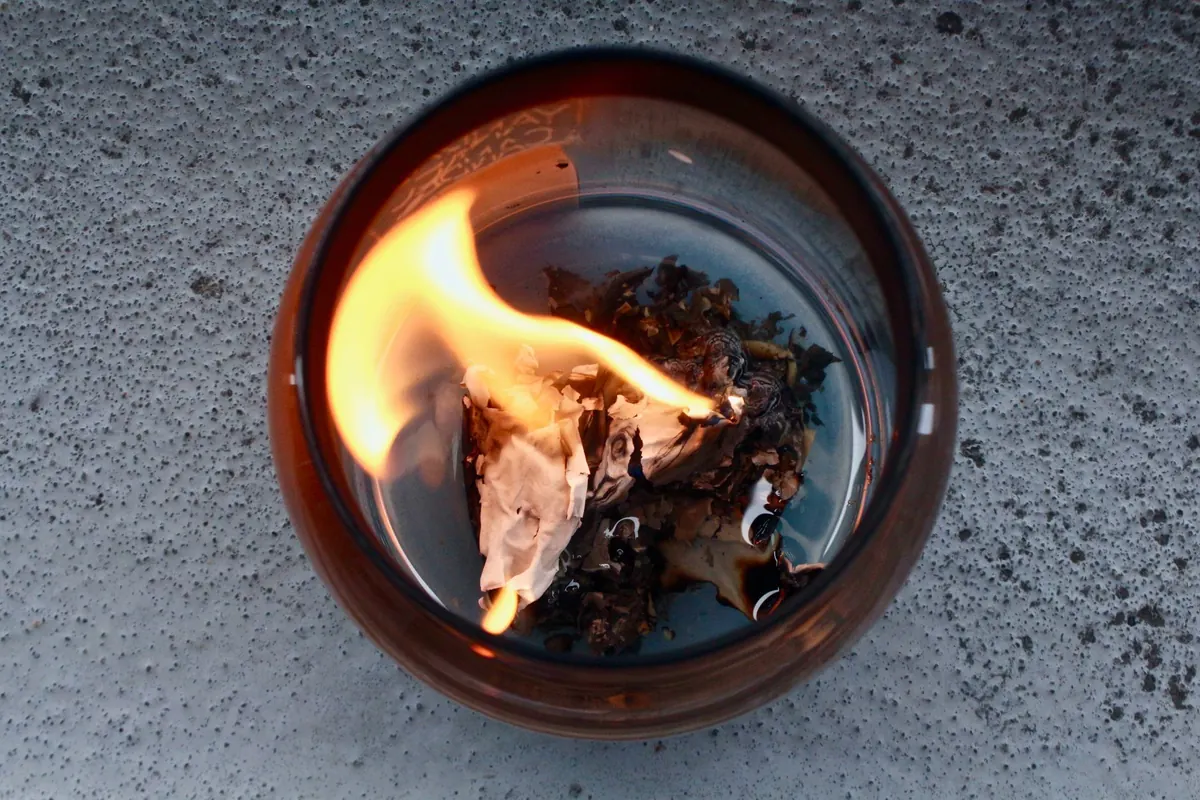
Photo: Tara Winstead / Pexels