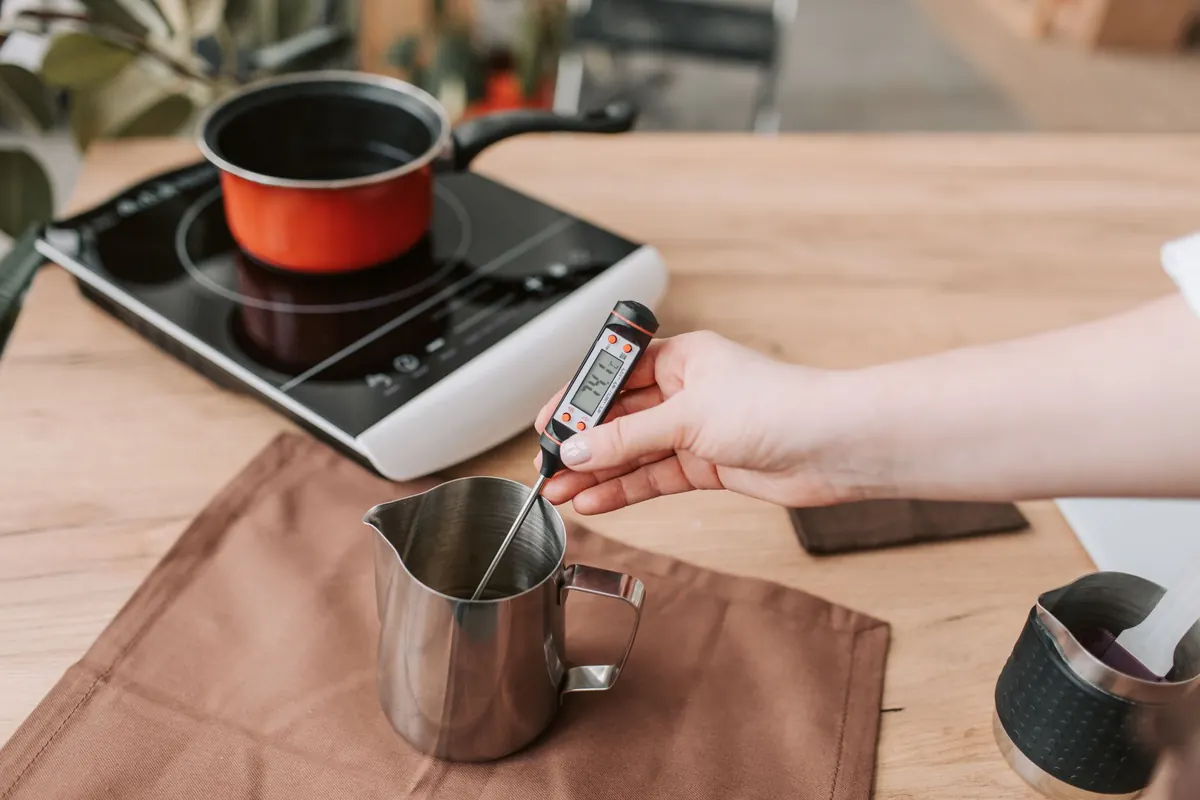
Anyone who has poured a batch that sweated oil, sank in the middle or refused to cling to the glass usually traces it back to one thing: temperature. Wax is fussy in a very specific way. A few degrees either side of the number your supplier recommends changes how it holds fragrance, how it grips the jar and how it burns once cured. The thermometer you use to find that number matters more than its price tag suggests, and the two popular options measure different things entirely.
Why the pour temperature matters so much
Wax goes through real physical changes as it cools, and your pour window sits inside that process. Add fragrance oil while the wax is too hot and the light, volatile top notes flash off before they ever reach the jar. Add it too cool and the oil doesn’t bind properly, which is how you end up with a slick of fragrance sitting on the surface or weeping through the side of a candle weeks later.
Pour too hot and you invite shrinkage, cavities, discoloured tops and wax that pulls away from the glass. Pour too cool and you get lumpy tops, air pockets, jump lines and a candle that tunnels down the middle no matter how long you trim the wick. Wax blends differ, so treat the figures from your supplier as the authority and use your thermometer to hit them consistently rather than guessing by eye or by the back of your hand.
How each thermometer measures
Digital probe thermometers
A probe thermometer uses a thermistor or thermocouple at the tip of a metal stem. It only reads the temperature of whatever that tip is touching, which means it must be inside the wax. Stir first, because melted wax stratifies: the layer near the base of the melter can be noticeably hotter than the surface. Then insert the probe so the tip sits roughly halfway down, well clear of the metal base, and hold it there until the display stops climbing. Ten to thirty seconds is typical.
Clip-on models are worth the small extra cost if you melt in a large jug or a wax melter, because they hold a steady position while you work. The trade-off is cleaning: wipe the stem with kitchen paper while it is still warm, and keep the cable and the joint between stem and housing away from splashes. Water and wax in that joint is the usual cause of a probe dying young.
Infrared thermometers
An infrared gun reads the heat energy radiating from a surface and gives you a number almost instantly, from a distance. Nothing touches the wax, so there is no cleaning between scents and no risk of knocking a jug. Point, press, read. For repetitive jobs it is the faster tool by a wide margin.
What it cannot do is tell you the temperature in the middle of a jug. The classic mistake is aiming at the surface of the wax and treating that reading as the batch temperature. The surface cools quickly, so you might see 55°C while the bulk below is sitting several degrees warmer, and you pour hotter than you intended. Reflective surfaces cause trouble too: shiny aluminium moulds and stainless steel pots bounce infrared around and give misleading readings. Steam and water vapour block the beam, and a fogged lens skews everything.
Head to head on the bench
- Accuracy where it counts: the probe wins for pour temperature, because that is an internal measurement. Infrared is accurate on surfaces only.
- Speed: infrared, comfortably. A reading takes about a second.
- Cleanliness: infrared, since nothing touches the wax. No scent transfer between batches.
- Safety: infrared keeps your hands and face further from hot wax, though a probe clipped in place is safer than holding one by hand.
- Versatility: a probe handles melting, fragrance addition and pouring. An infrared gun handles pre-warmed jars, mould walls, setting tops and checking whether a slab is cool enough to handle.
- Durability: both are affordable. Probes fail at the cable and stem joint; infrared lenses scratch if you wipe them with a dry cloth, so use a soft, slightly damp cloth or a lens wipe.
The honest answer is that they are complementary rather than competing. If you only own one, own the probe.
Where infrared earns its place
Pre-warming vessels is the best example. A quick pass with the gun tells you whether your jars are at room temperature or genuinely warm, which matters for adhesion and for reducing wet spots. The same goes for silicone moulds and metal pillar moulds before pouring.
It is also handy for monitoring a setting candle from a distance. You can watch the surface temperature fall without poking anything into a top that needs to be left alone. And when you are working with several jugs of different waxes, a quick surface check helps you decide which one to pour first.
Where the probe is unbeatable
Anything that involves the bulk of the wax: melt temperature, the moment you add fragrance, the moment you pour. A probe with a stainless stem of around 10cm or more lets you reach the middle of a deep jug without submerging the housing. A resolution of 1°C is plenty; a tenth of a degree looks impressive but does not change your candles.
A pouring routine that uses both
- Melt your wax with the probe clipped in place, stirring gently so the reading reflects the whole batch rather than one hot spot.
- Take the wax off the heat, then let it fall to the fragrance temperature your supplier recommends before adding oil.
- Stir for the full time you normally would, then use the infrared gun to check jar or mould temperatures and adjust if needed.
- Stir again, wait a few seconds, and confirm the pour temperature with the probe at mid-depth. Trust the probe here, not the surface.
- Pour, then leave everything alone. Use the infrared gun from a distance if you want to watch the tops set.
- Wipe the probe while it is warm and put both tools somewhere dry.
Calibration, care and what to buy
Probe thermometers can be sanity-checked at home with an ice-water bath, which should read close to 0°C. Boiling water reads around 100°C at sea level and slightly lower at altitude, so it is a rougher test. Never dip a probe past the marked immersion line or into the stem joint.
Infrared guns are harder to verify at home. Look for a stated accuracy of roughly ±1–2°C and a distance-to-spot ratio of at least 8:1, which means the measured circle is smaller than the distance you hold it at, so you are reading the wax rather than the background. If you must measure a shiny surface, a small patch of matt black tape gives a fairer reading than bare metal.
If your budget stretches to both, buy both. If it does not, start with a decent digital probe with a long stem and a clip, then add a basic infrared gun when you can. Keep a notebook alongside them: wax type, fragrance load, melt temperature, pour temperature and room temperature. Ten seconds of writing per batch will teach you more about your own setup than any specification on a box.
Photo: Vlada Karpovich / Pexels