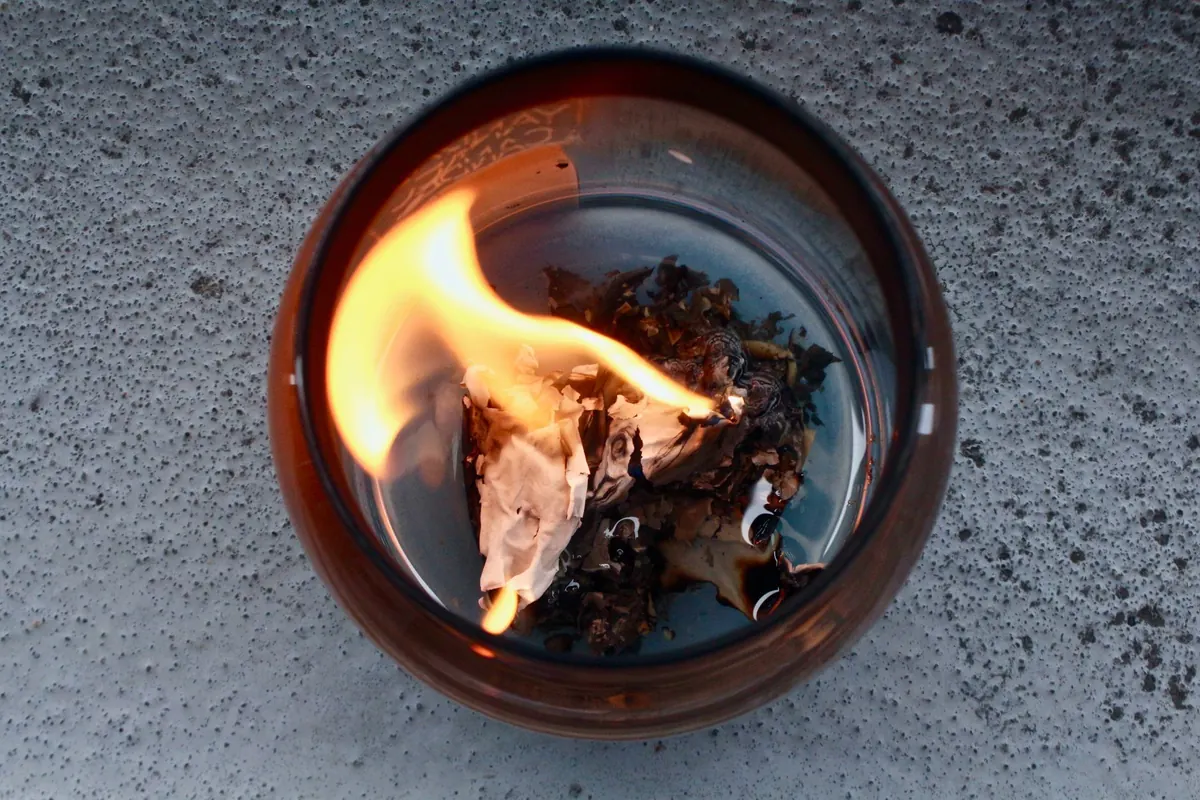
A new wick deserves better than a quick sniff and a shrug. The moment you light a tester, that wick starts telling you whether it suits your wax, your jar and your fragrance load — but it does so in stages, and the first hour is the least informative of the lot. A three-burn check spreads the assessment across consecutive burns, so you judge the melt pool, the flame, the soot and the scent throw on evidence rather than on how the candle behaved for twenty minutes on a Tuesday evening.
Set Up a Test That Means Something
Before you light anything, get the variables under control. Wick testing falls apart when three things change between candles, because you have no idea which one made the difference.
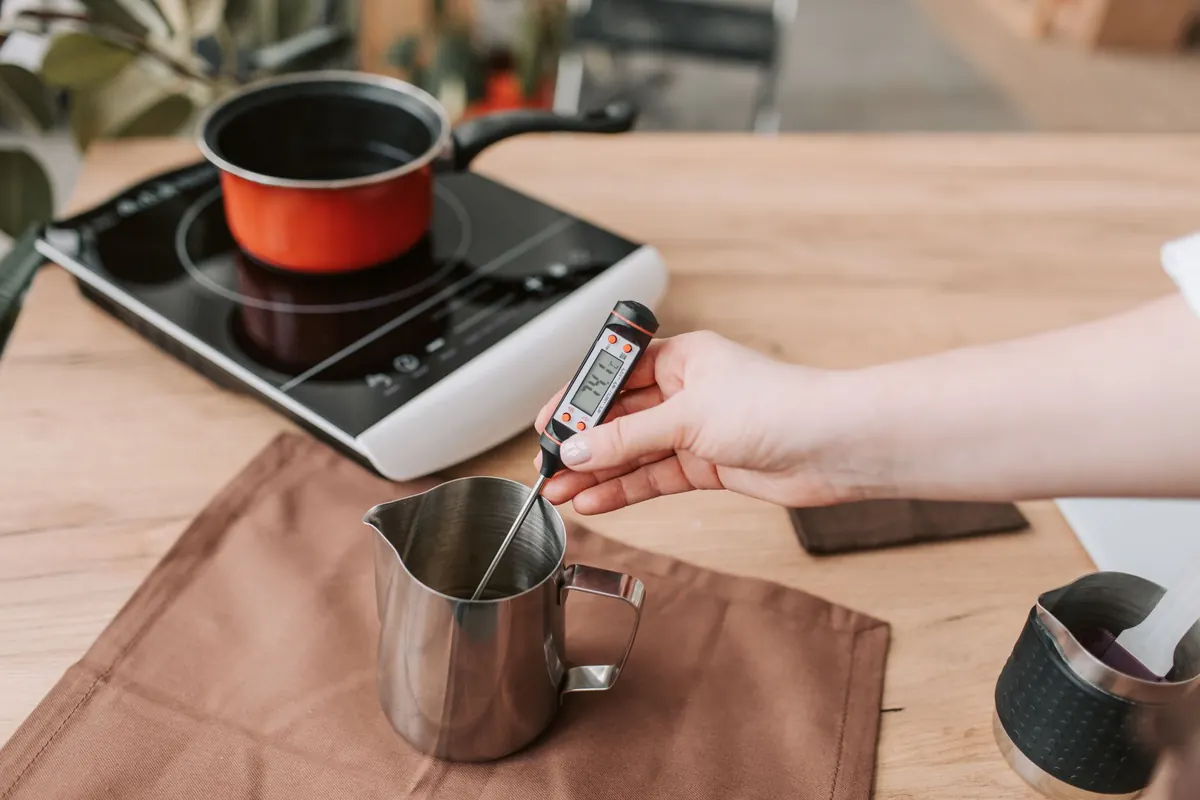
Pour testers in the same jar, same wax, same fragrance oil at the same percentage, same pour temperature. Cure them for the same length of time — a fortnight for most soy blends, a few days for paraffin and coconut blends. Then change only the wick. A sensible starting point is three candles: your best guess, one size up and one size down. If you have the patience, make two of each.
- Label every tester with the wick type and size, the date poured and the cure time.
- Burn in a draught-free room at roughly 20°C. A cold kitchen or a spot beside a window will skew everything.
- Trim the wick to about 5mm before each burn, every time.
- Keep a heatproof surface underneath and stay in the room.
Burn One: The Melt Pool
Let the first burn run for three to four hours. Blowing it out after forty minutes tells you nothing except that the wick lights.
By the end of that window you want a melt pool that has reached the edge of the jar and sits roughly 5 to 6mm deep. That is the target: enough heat to release fragrance, not so much that the glass becomes uncomfortable to touch.
Signs the wick is too small: the pool stalls partway across, a ring of solid wax clings to the glass, the flame is dim and the wax seems to climb the wick rather than feed it. A little hang-up after the first burn is normal, particularly with soy — it often catches up on the second burn. A stubborn 5mm collar that survives the second burn is not.
Signs the wick is too large: the pool hits the glass within an hour, sits deeper than a centimetre, and the jar gets hot enough that you would not hold it for long.
Burn Two: Flame Height and Behaviour
Let the candle cool completely, trim, and light it again. This is where the flame shows its true character, because the jar is already warm and the wick has formed its curl.
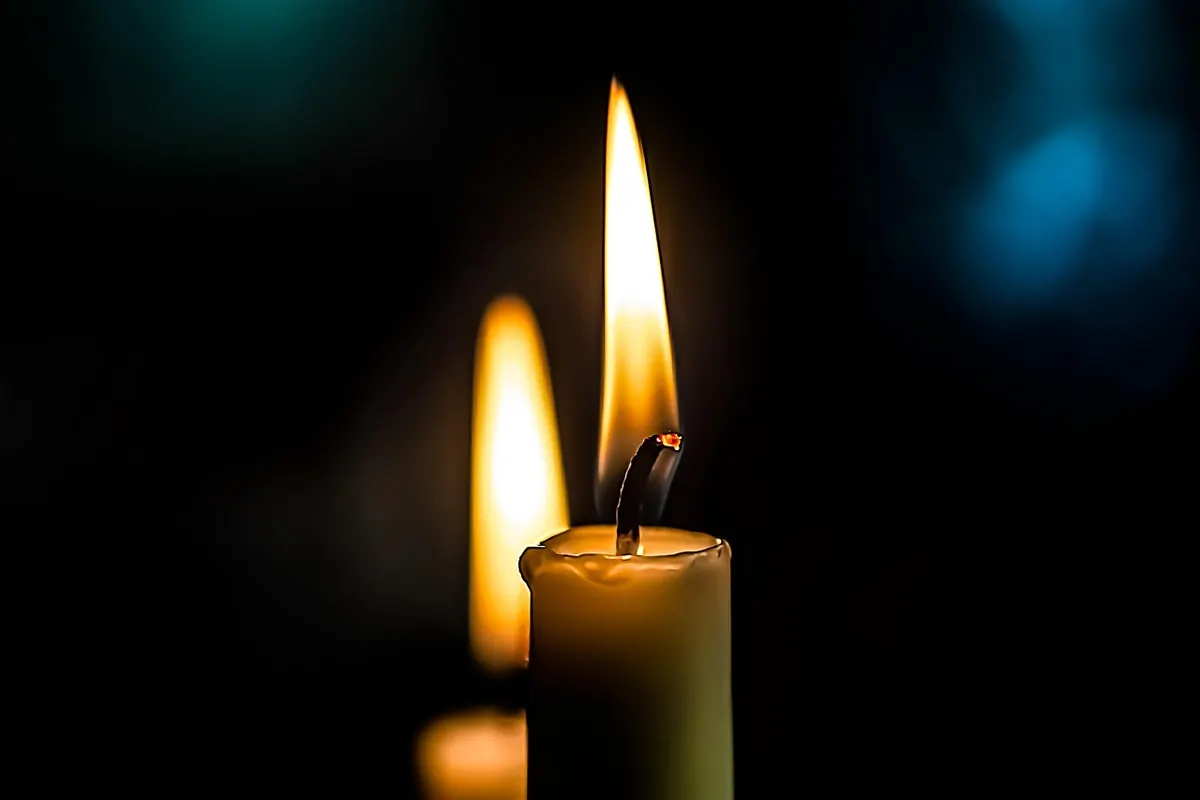
A healthy flame is steady, teardrop-shaped and roughly 20 to 30mm tall. It should not flicker, dance, or reach upward in a thin spike. Watch it across the whole burn rather than at the start — flames change as the pool widens and the jar heats up.
A flame pushing past 30mm usually means the wick is a size too big, or it has been left too long. A flame that shrinks, sputters and nearly drowns in the pool points the other way. If the wick curls so far that its tip dips into the melted wax, the candle will struggle regardless of size, and a different wick series may suit you better than a different number in the same series.
A wick that behaves in the first hour tells you very little. The third hour tells you the truth.
Burn Three: Soot, Mushrooming and Scent Throw
Soot and carbon build-up
Some mushrooming is normal. A small carbon ball on the tip after three hours simply means it is time to trim. What you are looking for is excess: black smoke curling off the flame, soot smudged on the rim of the jar, or a grey film on the glass within the first hour or two. That usually means the wick is oversized, or the fragrance load is high enough to be pushing the wick beyond its comfort zone. Heavy dye loads can do it too.
Scent throw
Judge hot throw between two and three hours into the burn, with the door closed and no draught running through the room. Stay in the space — do not lean over the candle and inhale. Then step out for ten minutes and come back; your nose fatigues quickly and the first impression on re-entry is usually the honest one.
If the melt pool is healthy but the throw is thin, the wick is probably not the problem. Check your fragrance percentage, your cure time and your pour temperature first. Cold throw is a separate test entirely, done on the unlit candle after curing, and it should not be used to judge a wick.
Reading the Results: What to Change
- Tunnelling, weak flame, hang-up beyond a few millimetres after two burns: wick up one size.
- Full pool in under an hour, flame over 30mm, hot jar, visible soot: wick down one size.
- Clean burn but disappointing throw: revisit fragrance load, cure time and wax temperature before touching the wick.
- Soot only in the first hour or two: the wick was too long at lighting. Trim to 5mm and retest before changing sizes.
- Wick drowning after three hours: wick too small, or too much curl, or too much fragrance oil for that wick series.
Change one thing at a time. And remember that wick sizes are not standardised across suppliers — a wick rated the same as another brand's may behave quite differently. Re-test whenever you switch wax batches, fragrance manufacturers or jar sizes, because a wick you trusted last month can behave differently with a new wax lot.
Keep a Wick Log
Write it down. Date, wax, jar, fragrance percentage, cure days, wick type and size, room temperature, time to full pool, flame height, soot, throw out of five, and your verdict. Half of good wick testing is simply remembering what you already learned.
Finally, burn the candle to the halfway point and then to the end. A wick that behaves beautifully at the top of the jar can struggle near the bottom, where the glass is warmer and there is less oxygen. Note that in the log too. A jar that becomes too hot to touch after a couple of hours is telling you the wick is too big, whatever the flame looks like — and no candle should ever be left burning unattended, near anything flammable, or within reach of children and pets.
Photo: Jenna Hamra / Pexels