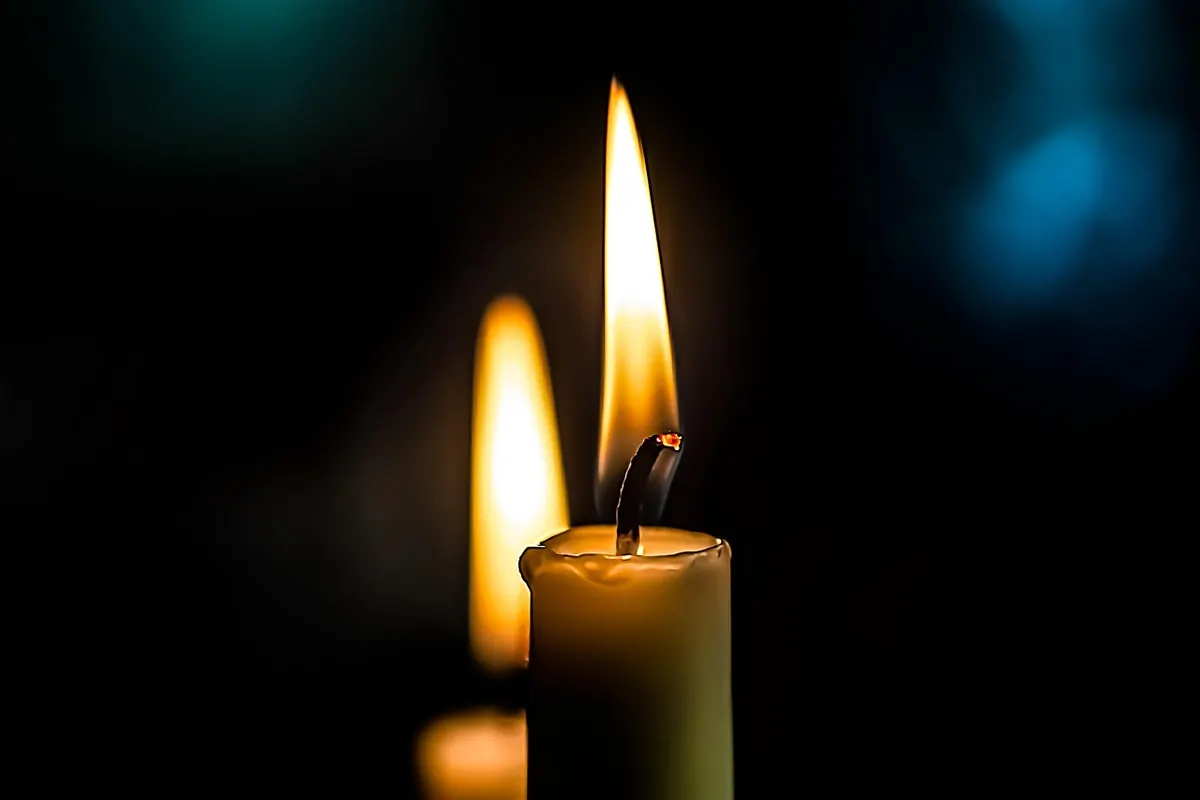
Most first candles look perfectly respectable in the jar. Then you light one and the surface sinks into a crater, the scent barely reaches the other side of the room, or the wick drowns in a pool of wax before the first hour is out. None of that means you're hopeless at this. It almost always comes down to one of four small variables — temperature, fragrance load, wick placement and time — and all four are fixable on your very next batch.
Here's what's going wrong, why it matters, and what to do instead.
Pouring Too Hot
The single most common mistake is treating wax like water: melt it, then pour it straight into the jar. Hot wax does several unhelpful things at once. It shrinks more as it sets, which leaves sinkholes around the wick and a rough, cratered top. It can melt the adhesive on your wick tab and let the wick drift off-centre. In soy and other vegetable waxes, pouring too hot encourages frosting — that chalky white bloom on the surface — and graininess. And if your jars are cold, the temperature shock can crack glass.
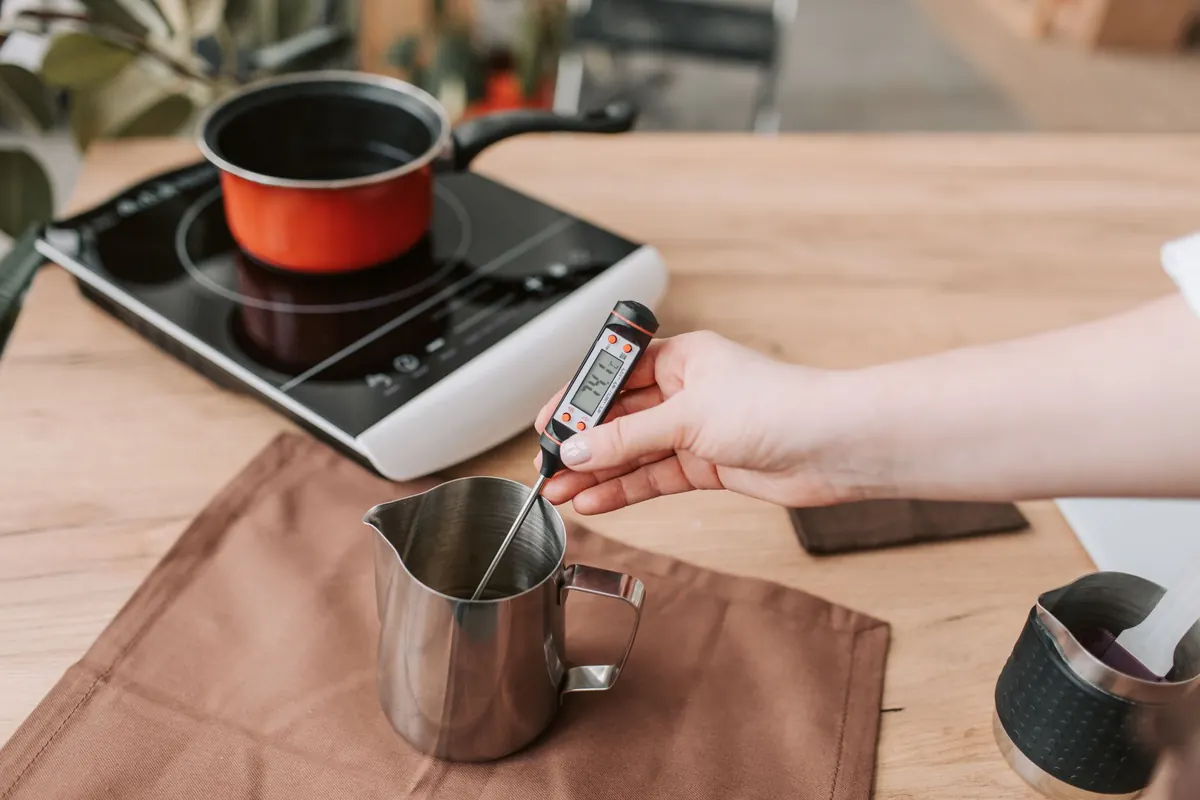
Work to temperatures, not to a feeling. As a rough guide for a typical container soy wax: melt to around 80–85°C, stir in fragrance at roughly 60–65°C, and pour somewhere around 55–60°C. Paraffin and coconut blends sit at different points, so check your supplier's guidance for the exact wax you bought and write those numbers on the bag.
A digital probe thermometer costs very little and removes all the guesswork. Infrared thermometers only read the surface, so for stirred wax a probe is the better tool. If your jar feels cold to the touch, warm it gently first — a low oven or a few minutes with a hairdryer on a low setting is plenty.
Getting the Fragrance Load Wrong
Fragrance is measured as a percentage of the weight of the wax, not as glugs from the bottle. If you're making a 200g candle and want an 8% load, that's 16g of fragrance oil, weighed on a scale accurate to a gram. Eyeballing it is how you end up with candles that smell either faint or faintly chemical.
Most container waxes take somewhere between 6% and 10%, and many manufacturers cap it around 10–12%. Going above the recommended limit doesn't give you a stronger candle. It gives you oil sweating out of the wax, a wick that struggles to burn, soot on the jar, and a weaker hot throw because the flame can't combust everything it's being fed.
Two other habits matter here. Use fragrance oils formulated for candles rather than reed diffuser or soap oils, and stir gently for a minute or two once it's in — you're combining, not whipping air into it.
Wick Placement Is Not a Detail
A wick half a centimetre off-centre will burn unevenly for the entire life of the candle. One side of the jar gets hot, the other side tunnels, and you lose a chunk of wax that never gets used. In a glass container, that hot side is also the part most likely to get uncomfortably warm.
Press the wick tab down firmly and centrally, then hold the wick upright while the wax sets. A dedicated wick holder, or two chopsticks or pencils laid across the rim with the wick threaded between them, keeps it straight. If you're making a multi-wick candle, treat symmetry as part of the design — evenly spaced wicks give an even melt pool.
Wick size is the other half of this. Too small and the melt pool never reaches the edge; too large and you get a fast, sooty burn and an overheated jar. Wick charts are a starting point, never a guarantee, because your wax, fragrance and container all shift the answer.
Skipping the Cure
Cooling and curing are two different things. A candle can be fully set within a few hours and still not be ready to burn. Curing lets the fragrance bind properly with the wax, and it makes a noticeable difference to how the candle performs.
As a general rule, paraffin candles benefit from two to three days, while soy and other vegetable wax blends usually want one to two weeks. Store them upright, lidded, somewhere cool, dark and dry — a cupboard rather than a windowsill. Then judge the candle after curing, not the day after you made it. If you test too early, you'll tweak a formula that was actually fine.
Two Quieter Mistakes Worth Knowing
Moving jars while they set. Wax forms its surface as it cools, and nudging the jar across the worktop at the wrong moment leaves ripples, cracks or a slanted top. Leave them alone until they're completely firm.
Not burn-testing properly. Every new combination of wax, wick, fragrance and jar needs a test burn of three to four hours at a time, with the wick trimmed to about 5mm before each lighting. Watch for a full melt pool forming within roughly an hour per inch of jar diameter, a steady flame with no flickering soot, and no drowning wick.
If something looks wrong, the symptom usually points at the cause:
- Tunnelling down the middle — wick too small, or you've been extinguishing before the melt pool reaches the edge.
- Soot on the glass — wick too large, untrimmed, or too much fragrance for the wick to handle.
- Oil on the surface — fragrance load above what the wax will hold.
- Cratered or cracked top — poured too hot, or cooled too quickly.
- Barely any scent when lit — under-cured, under-loaded, or fragrance added at the wrong temperature.
A Quick Check Before You Pour
Run through this each time and you'll skip most of the frustration:
- Weigh the wax, weigh the fragrance, and check the percentage against your supplier's limit.
- Note your melt, fragrance and pour temperatures — and actually use the thermometer.
- Warm the jars, centre the wicks, and secure them with a holder.
- Pour slowly and evenly, then walk away. No poking, no moving, no fridge.
- Label the batch with the date and the recipe, and leave it to cure before you judge it.
Keep notes on every pour, even the messy ones. Within a few batches you'll have your own numbers — your wax, your room, your jars — and the results stop feeling like luck. And as with any candle you make or burn, keep it on a heatproof surface, away from draughts and anything flammable, and never leave a burning candle unattended.
Photo: Ri_Ya / Pixabay