Soy wax is well-behaved right up until the room gets cold. Pour a candle in July and it sets smooth, flat and snug against the glass. Pour the same wax on a January morning in a kitchen with a single-glazed window and you get a hairline crack down one side, or a crater around the wick. Nothing is wrong with your wax, your wick or your fragrance oil. The room is doing it.
Why cold rooms crack soy candles
Soy wax shrinks as it cools. In a warm room that shrinkage happens slowly and evenly: the wax stays soft long enough to move with the glass, and it sets with a clean top and tidy sides. In a cold kitchen the surface skins over within minutes while the middle is still liquid. That skin contracts, the wax underneath has not finished shrinking, and something has to give. Usually that means a crack, a sinkhole, or a ring of wax that has pulled away from the jar.
Cold jars make it worse. A jar that has been sitting in a garage or on a windowsill pulls heat out of the wax the moment you pour. A stone or steel worktop does the same from below. Add a draught across the top of the jar and the surface sets before the middle has any chance to catch up.
None of this needs expensive equipment to fix. It needs warmth in the right places, and patience while the candle cools.
What you'll need
- Soy container wax — a blend sold for containers, not pillar wax, which behaves differently
- A heatproof pouring jug with a spout
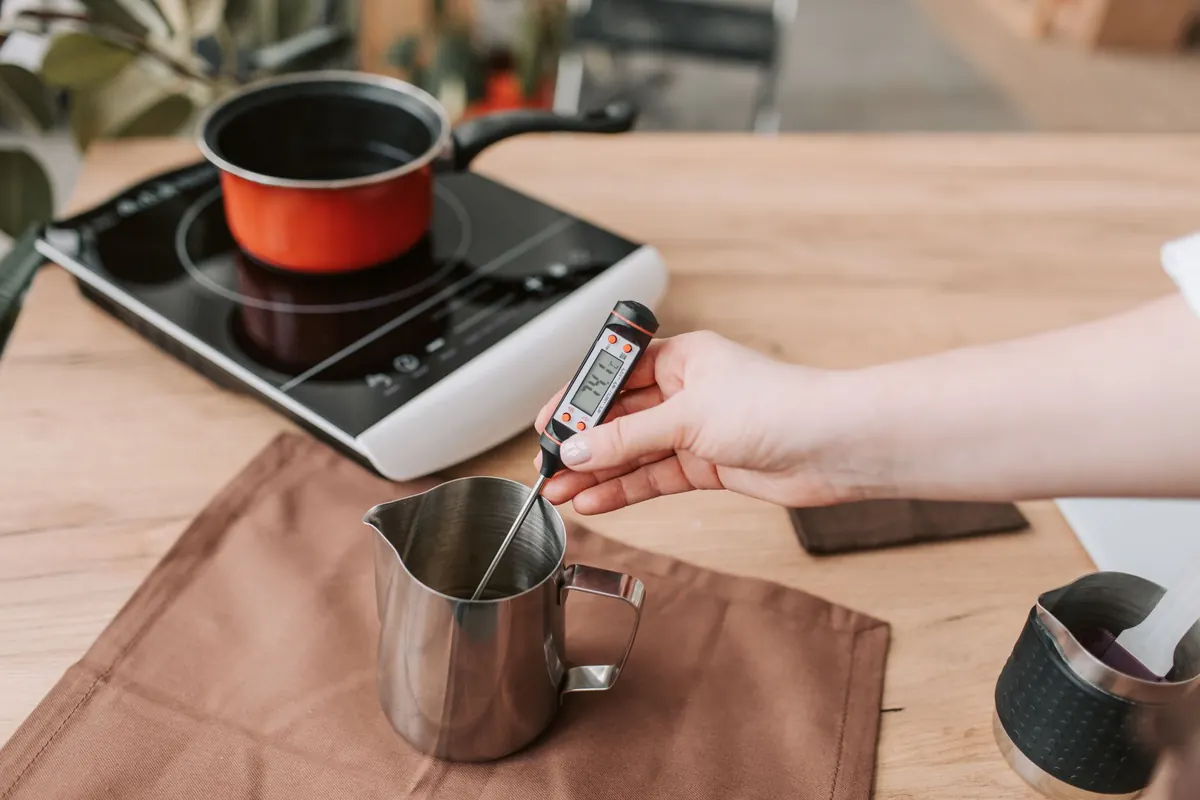
- A digital probe thermometer. Infra-red guns only read the surface, so a probe you can stir with is far more useful
- Scales accurate to a gram, and a note of your jar's capacity
- Clean, dry glass jars — warm them, as we'll come to
- Pre-waxed wicks with tabs, plus wick centring bars or two chopsticks
- Candle-safe fragrance oil, used at the rate your supplier recommends
- A saucepan, a trivet or old tin lid for the jug to sit on, and plenty of newspaper
- A cool box, a cardboard box and a couple of towels for insulation
Melting and pouring temperatures that actually matter
Blends vary, so your supplier's guidance beats anything written here. As a general rule for container soy, melt to around 80°C, add fragrance somewhere between 65°C and 70°C, and pour between 55°C and 60°C. Those three numbers do most of the work.
Melt in a bain-marie: a saucepan with a few centimetres of simmering water, the jug sitting in it, never touching the base. Stir gently rather than whisking — you want the wax melted, not aerated, because trapped air shows up as bubbles and rough tops later.
Pour too hot and you get sinkholes, shrinkage and wax creeping up the inside of the jar. Pour too cool and the wax starts setting in the jug, giving you a lumpy top and poor adhesion to the glass. If the jug starts to feel cooler than you'd like, sit it back in the warm water for a minute and stir.
Warm everything before the wax goes in
This is the step most people skip, and it is the one that prevents most cold-weather problems. Glass jars can go into a low oven for fifteen minutes or so to take the chill off, or stand them in hot tap water and dry them thoroughly. A hairdryer works too. Aim for warm to the touch, not hot — you are taking the edge off, not baking them.
While you are at it, warm the pouring jug, put a wooden board or folded towel under each jar, close the window, shut the kitchen door and keep the jars away from external walls. If your kitchen has a persistent draught, work at the other end of the room.
Then pour slowly, in one steady stream, from a few centimetres above the jar. Pouring from a great height introduces air and splashes wax up the sides; pouring fast does the same. Leave about a centimetre and a half of headspace, and keep a little wax back in the jug for a top-up.
Insulation: the trick that stops most cracks
Once poured, the goal is to slow the cooling right down — ideally over several hours rather than several minutes. Any of these will help:
- Rest the jars on a wooden board or folded towel, never directly on stone or steel
- Cover them loosely with a cardboard box, with the lid resting on top rather than sealed
- Move the whole tray into a cool box and leave the lid slightly ajar
- Wrap each jar in a towel, or drape a tea towel over the tray
- Keep them away from open windows, extractor fans, doorways and cold external walls
- Leave them completely alone for twelve to twenty-four hours — no prodding to see if they have set
Do not put them in the fridge. That is the fastest route to cracks, wet spots and a dull, uneven surface.
If a sinkhole appears, do a second pour
Sinkholes are normal with soy, especially in a cold room. Once the first pour has fully set, warm a little spare wax back to your pour temperature, poke two or three small holes near the wick with a skewer to release trapped air, and top up in a thin layer. The fresh wax bonds to the set wax and gives you a flat top. Do this within a day or so for the neatest finish.
When it still goes wrong
- Crack down the side: the jar or the room was too cold. Warm the jars and insulate more
- Crater around the wick: shrinkage. Fix it with a second pour
- Rough, bumpy top: poured too cool, or cooled too quickly
- Wax pulling away from the glass: a cold jar. Let the wax set, then warm the outside of the jar gently with a hairdryer to re-adhere it
- Cloudy patches where wax meets glass: a temperature difference between wax and jar, usually the same cause
Let them cure
Leave the candles somewhere with a steady temperature, lids on, for a week or two before burning. Not a windowsill, not a garage. The scent throw improves noticeably with a proper cure, and the wax finishes hardening.
Your first cold-weather batch
Warm the jars, melt the wax to 80°C, stir in fragrance at 65°C to 70°C, pour at 55°C to 60°C, then get out of the way and let them cool slowly under a box or a towel. Top up any sinkholes the next day, cure for a fortnight, and trim the wick to about 5mm before the first burn, which should run for two to three hours until the melt pool reaches the edge of the jar.
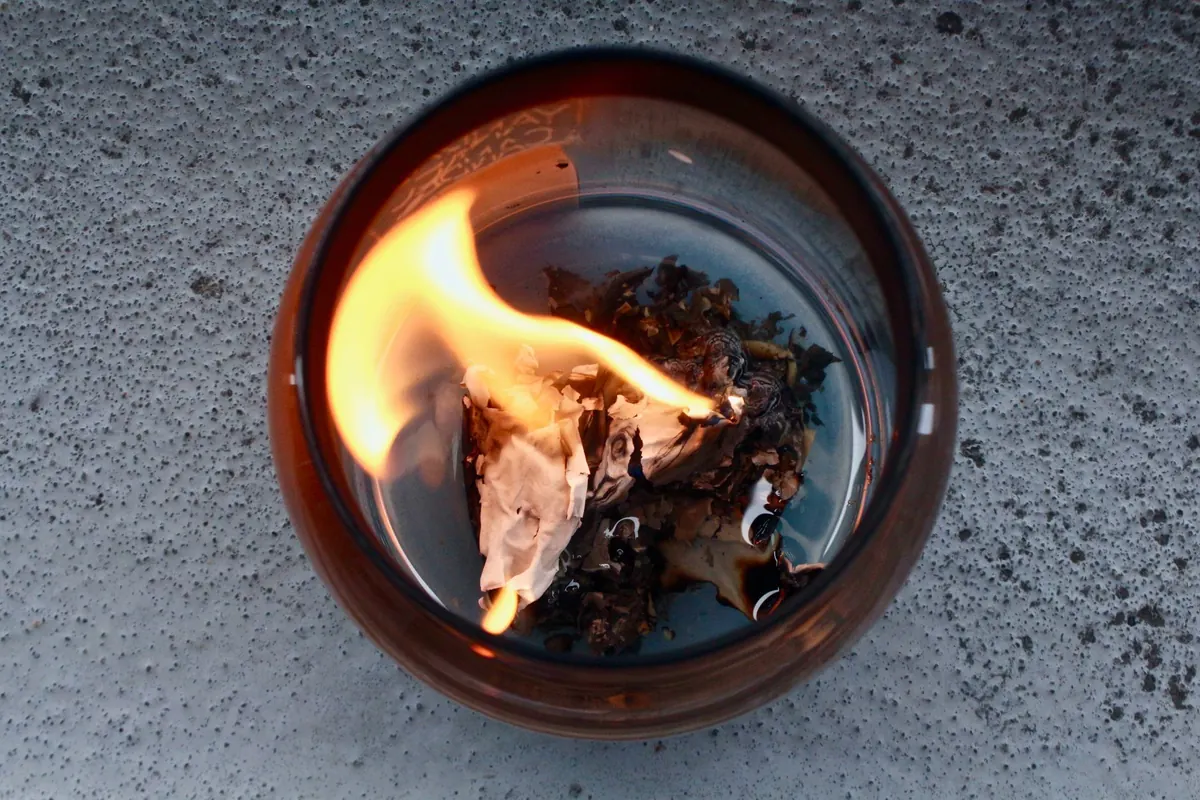
One safety note worth repeating: never leave melting wax unattended, keep water out of the wax, and if wax ever catches light, cover the pan with a lid rather than throwing water on it. A cold kitchen is a nuisance, not a disaster — with a little warmth and a lot of patience, soy wax will set beautifully even in February.
Photo: Pexels / Pixabay