Candle making is a short list of steps dressed up as a craft. Melt wax, add fragrance, pour it into a jar, wait a week. Anyone can do it in a kitchen on a Sunday afternoon. What trips up most beginners is not the technique but the shopping — search for a starter kit and you will find forty-piece boxes containing tools you will never touch twice. So here is the honest version: the ten things worth buying before your first pour, and the extras that can wait until you know you enjoy it.
Start with the three tools that do the heavy lifting
Everything else is optional. These three are not.
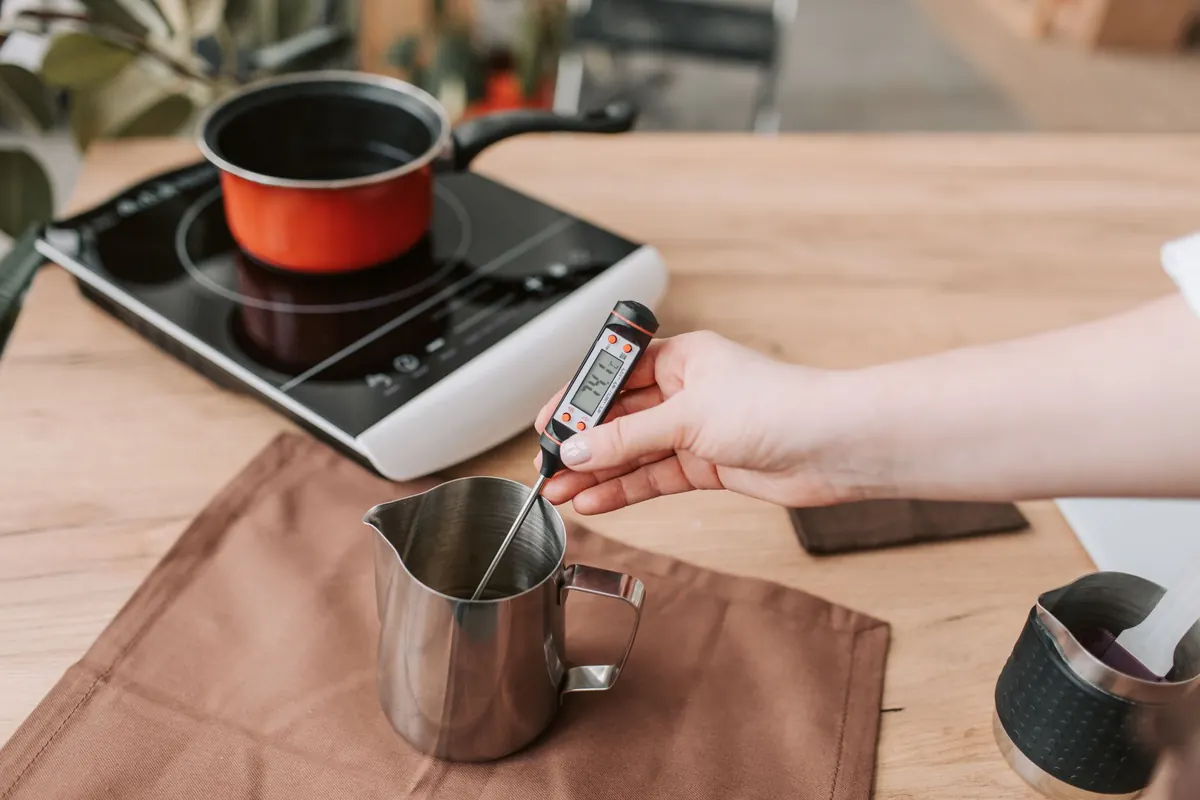
A pouring jug
One litre, stainless steel or aluminium, with a proper spout. Glass measuring jugs are the classic beginner mistake — they can crack when hot wax hits them, and the spout dribbles down the side instead of into the jar. Look for a jug with a handle that stays reasonably cool, or wrap the handle in silicone tape. A one-litre jug holds enough wax for three or four small jars in a single pour, which keeps your temperatures consistent.
A thermometer you can read quickly
A digital probe thermometer or a clip-on confectionery thermometer, accurate to about 1°C. It needs to clip to the side of the jug so your hands are free to stir. Infrared guns are tempting, but they only read the surface, and the surface of melting wax is not the same temperature as the middle. You will be checking temperature at least three times per batch — when the wax melts, before you add fragrance, and before you pour — so make it easy on yourself.
Digital scales
Kitchen scales that read in grams, ideally down to 0.1 g. Wax is measured by weight, never by volume, and fragrance oil is calculated as a percentage of that weight. If you are working with a 200 g test batch and want a 7% fragrance load, that is 14 g — and a scale that only does 1 g increments will leave you guessing. A cheap jeweller's scale is fine for the fragrance if your main scale is coarse.
The consumables: wax, wicks, fragrance and dye
Wax. Choose a container wax — soy, coconut and rapeseed blends, or a soy-paraffin mix — rather than a pillar wax, which is formulated to stand up on its own. Buy one type and stick with it for your first few batches. Every wax melts, sets and throws scent differently, and switching constantly means you never learn what "normal" looks like. Flakes and pellets melt faster than blocks.
Wicks. Buy pre-tabbed cotton or cotton-paper wicks in two or three sizes around the diameter of your jar, plus a sheet of wick stickers. Wick sizing is not an exact science: it depends on your wax, your fragrance load, your jar shape and even the temperature of the room. Beginners who buy one size and wonder why the candle tunnels or smokes are usually just under- or over-wicked. Two sizes gives you something to compare.
Fragrance oil. Candle-specific fragrance oil, not room sprays, perfume or burner oils. A typical starting load is 6–10% of the wax weight, and more is not better — too much oil can clog the wick and kill the flame. Essential oils can be used, but many are delicate at melt temperatures and give a fainter scent throw, so they are a harder place to start.
Dye. Liquid candle dye is easier than chips or blocks for a beginner. One or two drops colours a small batch; add a drop at a time and stir, because you cannot remove colour once it is in. Pale candles also hide minor imperfections far better than deep, saturated ones.
Containers, and keeping the wick upright
Heat-resistant glass jars with straight sides are the simplest option, roughly 6–8 cm across. Thin decorative glass, drinking glasses and anything not intended for heat can crack. Amber jars and tins both work well; tins have the advantage of never shattering.
You also need something to hold the wick centred while the wax sets. Purpose-made wick centring bars are inexpensive, but two chopsticks or skewers laid across the rim of the jar do the same job. An off-centre wick burns unevenly and looks untidy, and it is the single easiest thing to get right.
The ten-supply checklist
- One-litre stainless steel pouring jug with a spout
- Digital or confectionery thermometer with a clip
- Digital scales, ideally reading to 0.1 g
- Container wax — one type, bought in a sensible quantity
- Pre-tabbed wicks in two sizes, plus wick stickers
- Wick centring bars, or two chopsticks
- Candle-safe fragrance oil
- Liquid candle dye
- Heat-resistant jars or tins
- A silicone spatula, kitchen roll and a heatproof mat
That last one is unglamorous but genuinely essential. Dedicate a silicone spatula or an old metal spoon to candle making — fragrance oil lingers in silicone no matter how well you wash it. Kitchen roll and a heatproof mat save your worktop from wax drips, and wax that has set on a surface is far easier to peel off than to scrub away.
Nice-to-haves you can add later
- A wax melter. Worth it once you are making several kilos at a time, pointless for one or two jars.
- A heat gun. Smooths over a lumpy candle top and fixes sinkholes. A hairdryer on low works in a pinch.
- Wick trimmers. Nail clippers do the job perfectly well.
- Moulds and mould release spray. A completely different discipline to container candles. Learn one first.
- A curing rack. A shelf, a tray or the top of a cupboard does the same thing.
- A second jug. Handy for splitting a batch and testing two colours or scents side by side.
Your first order, and a word on safety
Buy one wax, two wick sizes, one fragrance, one dye and three jars. That is enough to make a small test batch and learn more than any shopping list can teach you. Keep a note of what you did: wax type and weight, fragrance percentage, the temperature you poured at, room temperature, wick size, and how many days you let the candle cure. Then change one variable at a time on the next batch. That written record is the difference between improving and just repeating yourself.
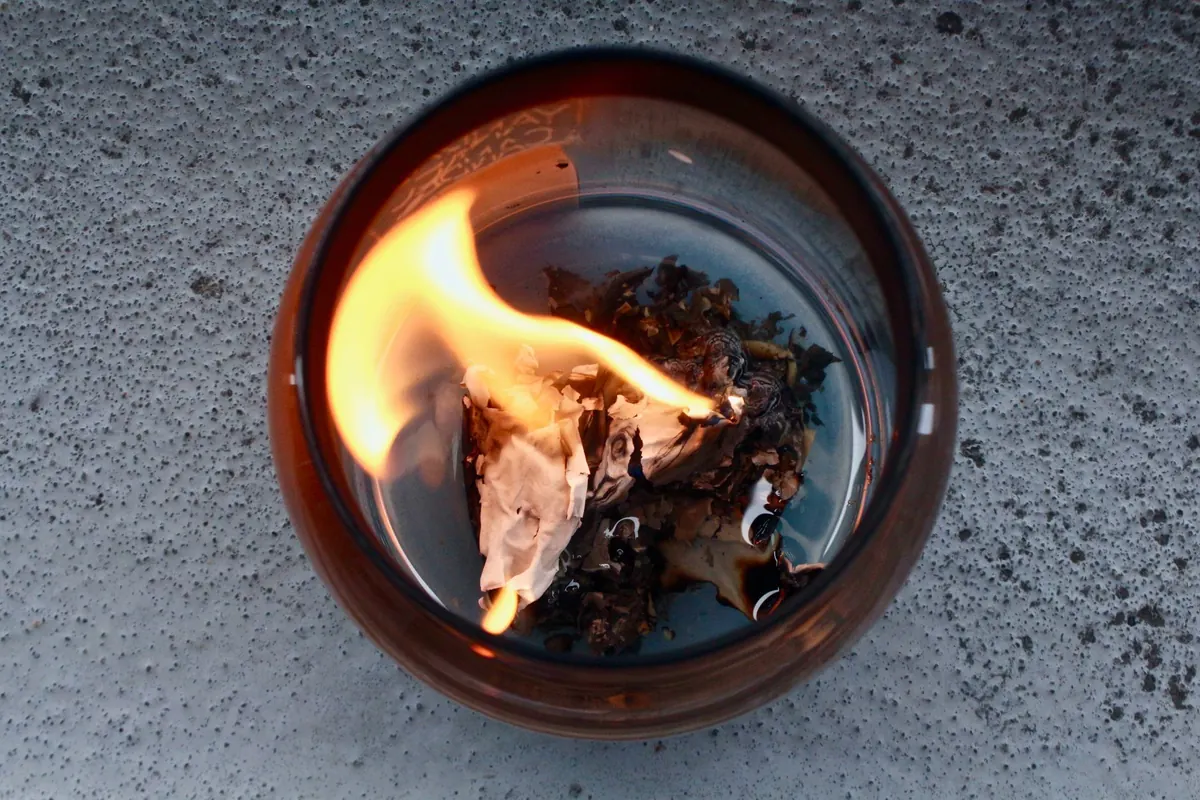
Melt wax in a double boiler or a dedicated melter, never directly on the hob, and never leave it unattended. If wax ever does catch light, do not throw water on it — turn off the heat and cover the pan with a lid. Work somewhere ventilated, keep the whole process away from children and pets, and let candles cure out of reach. Fragrance oils are concentrated and can irritate skin, so wash your hands after handling them.
Start there. Add the rest when you find yourself wishing you had it, not because a kit told you to.
Photo: kundennote_com / Pixabay